Bronica SQ-A Review
Released in 1982 the Bronica SQ-A is an updated version of the original SQ released in 1980.
First released in 1980 the Bronica SQ is a medium format camera that was developed in Japan as a cheaper, yet still high quality, alternative to Hasselblad’s imperious 500 series cameras (long a favourite of NASA and used on the Apollo 11 mission by Armstrong & Aldrin). Unsurprisingly the ‘SQ’ stands for square as it shoots a 6x6(cm) image that produces twelve shots on a standard roll of 120 film. Released with professionals and wealthy amateurs in mind, the images captured on such a large negative have much greater levels of detail than standard 35mm film. Making this a favourite of landscape, portrait or any other type of photographer who had still or slow-moving subjects and enough time for a lengthier set-up.
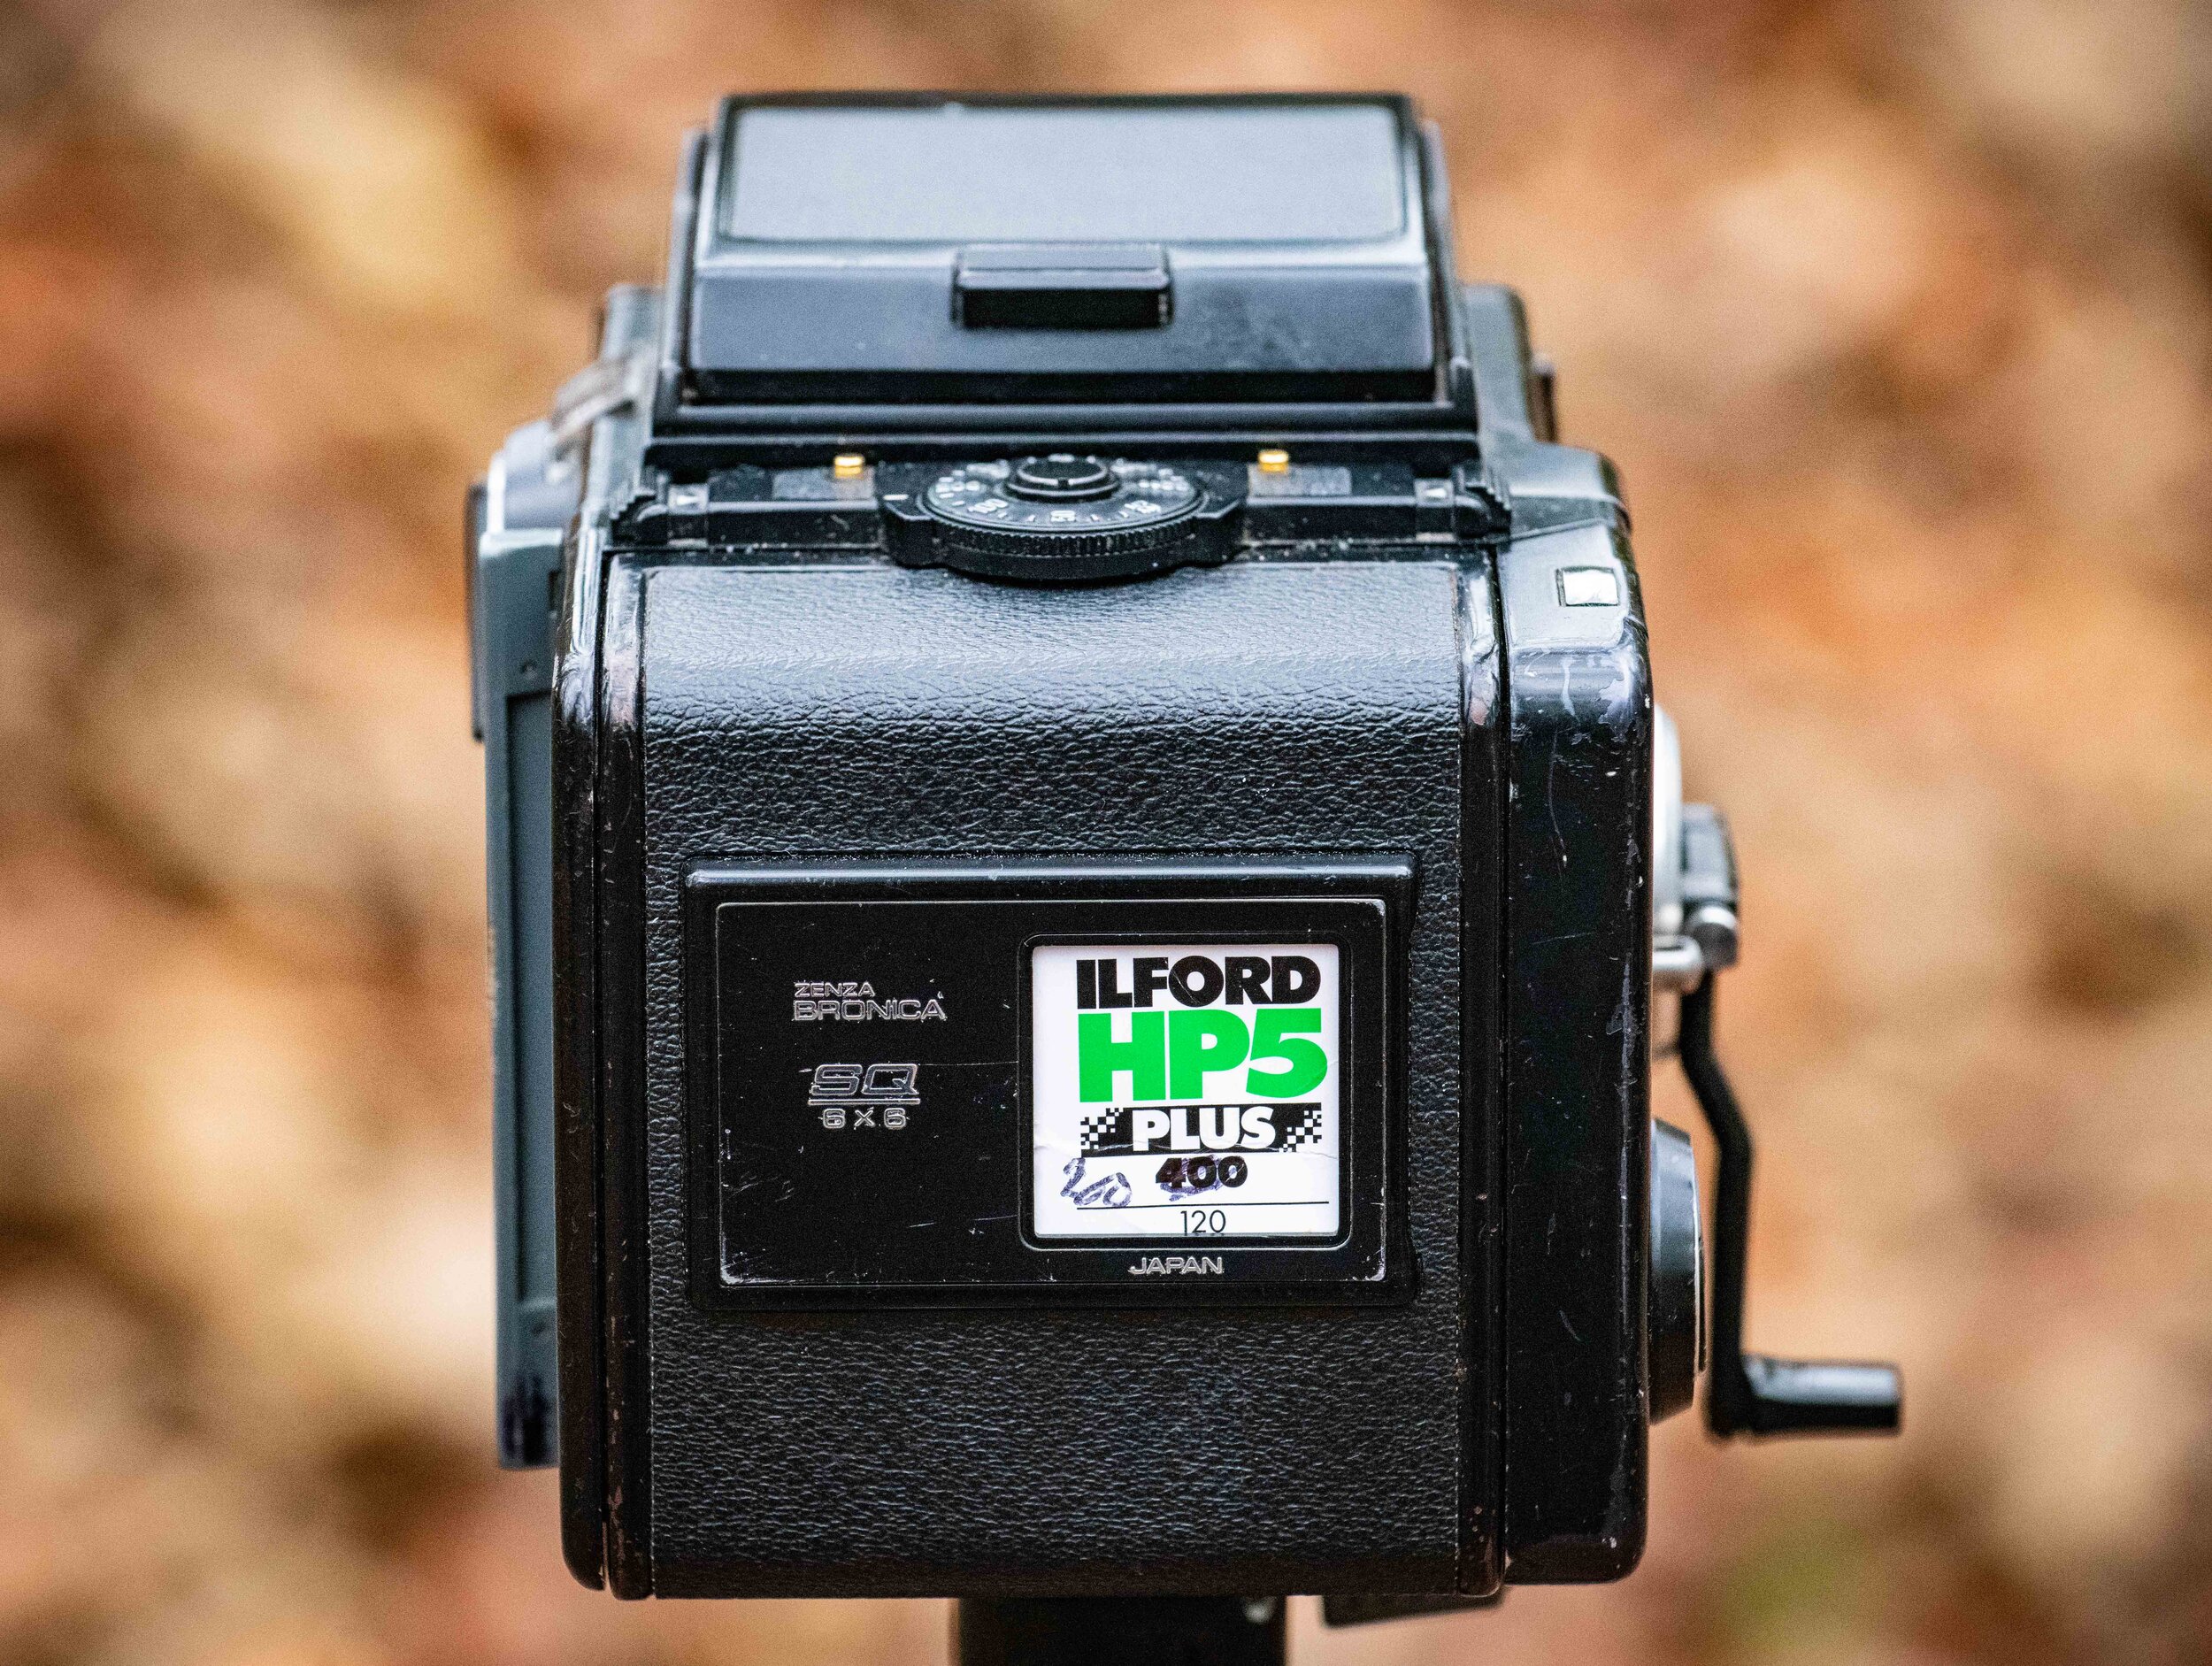
The rear of the Bronica has a handy slot to insert a reminder on which type of film is in the back. Metering is possible with a prism viewfinder and the ISO dial is located on the top, this was later moved on the backs for the later SQ-Ai.
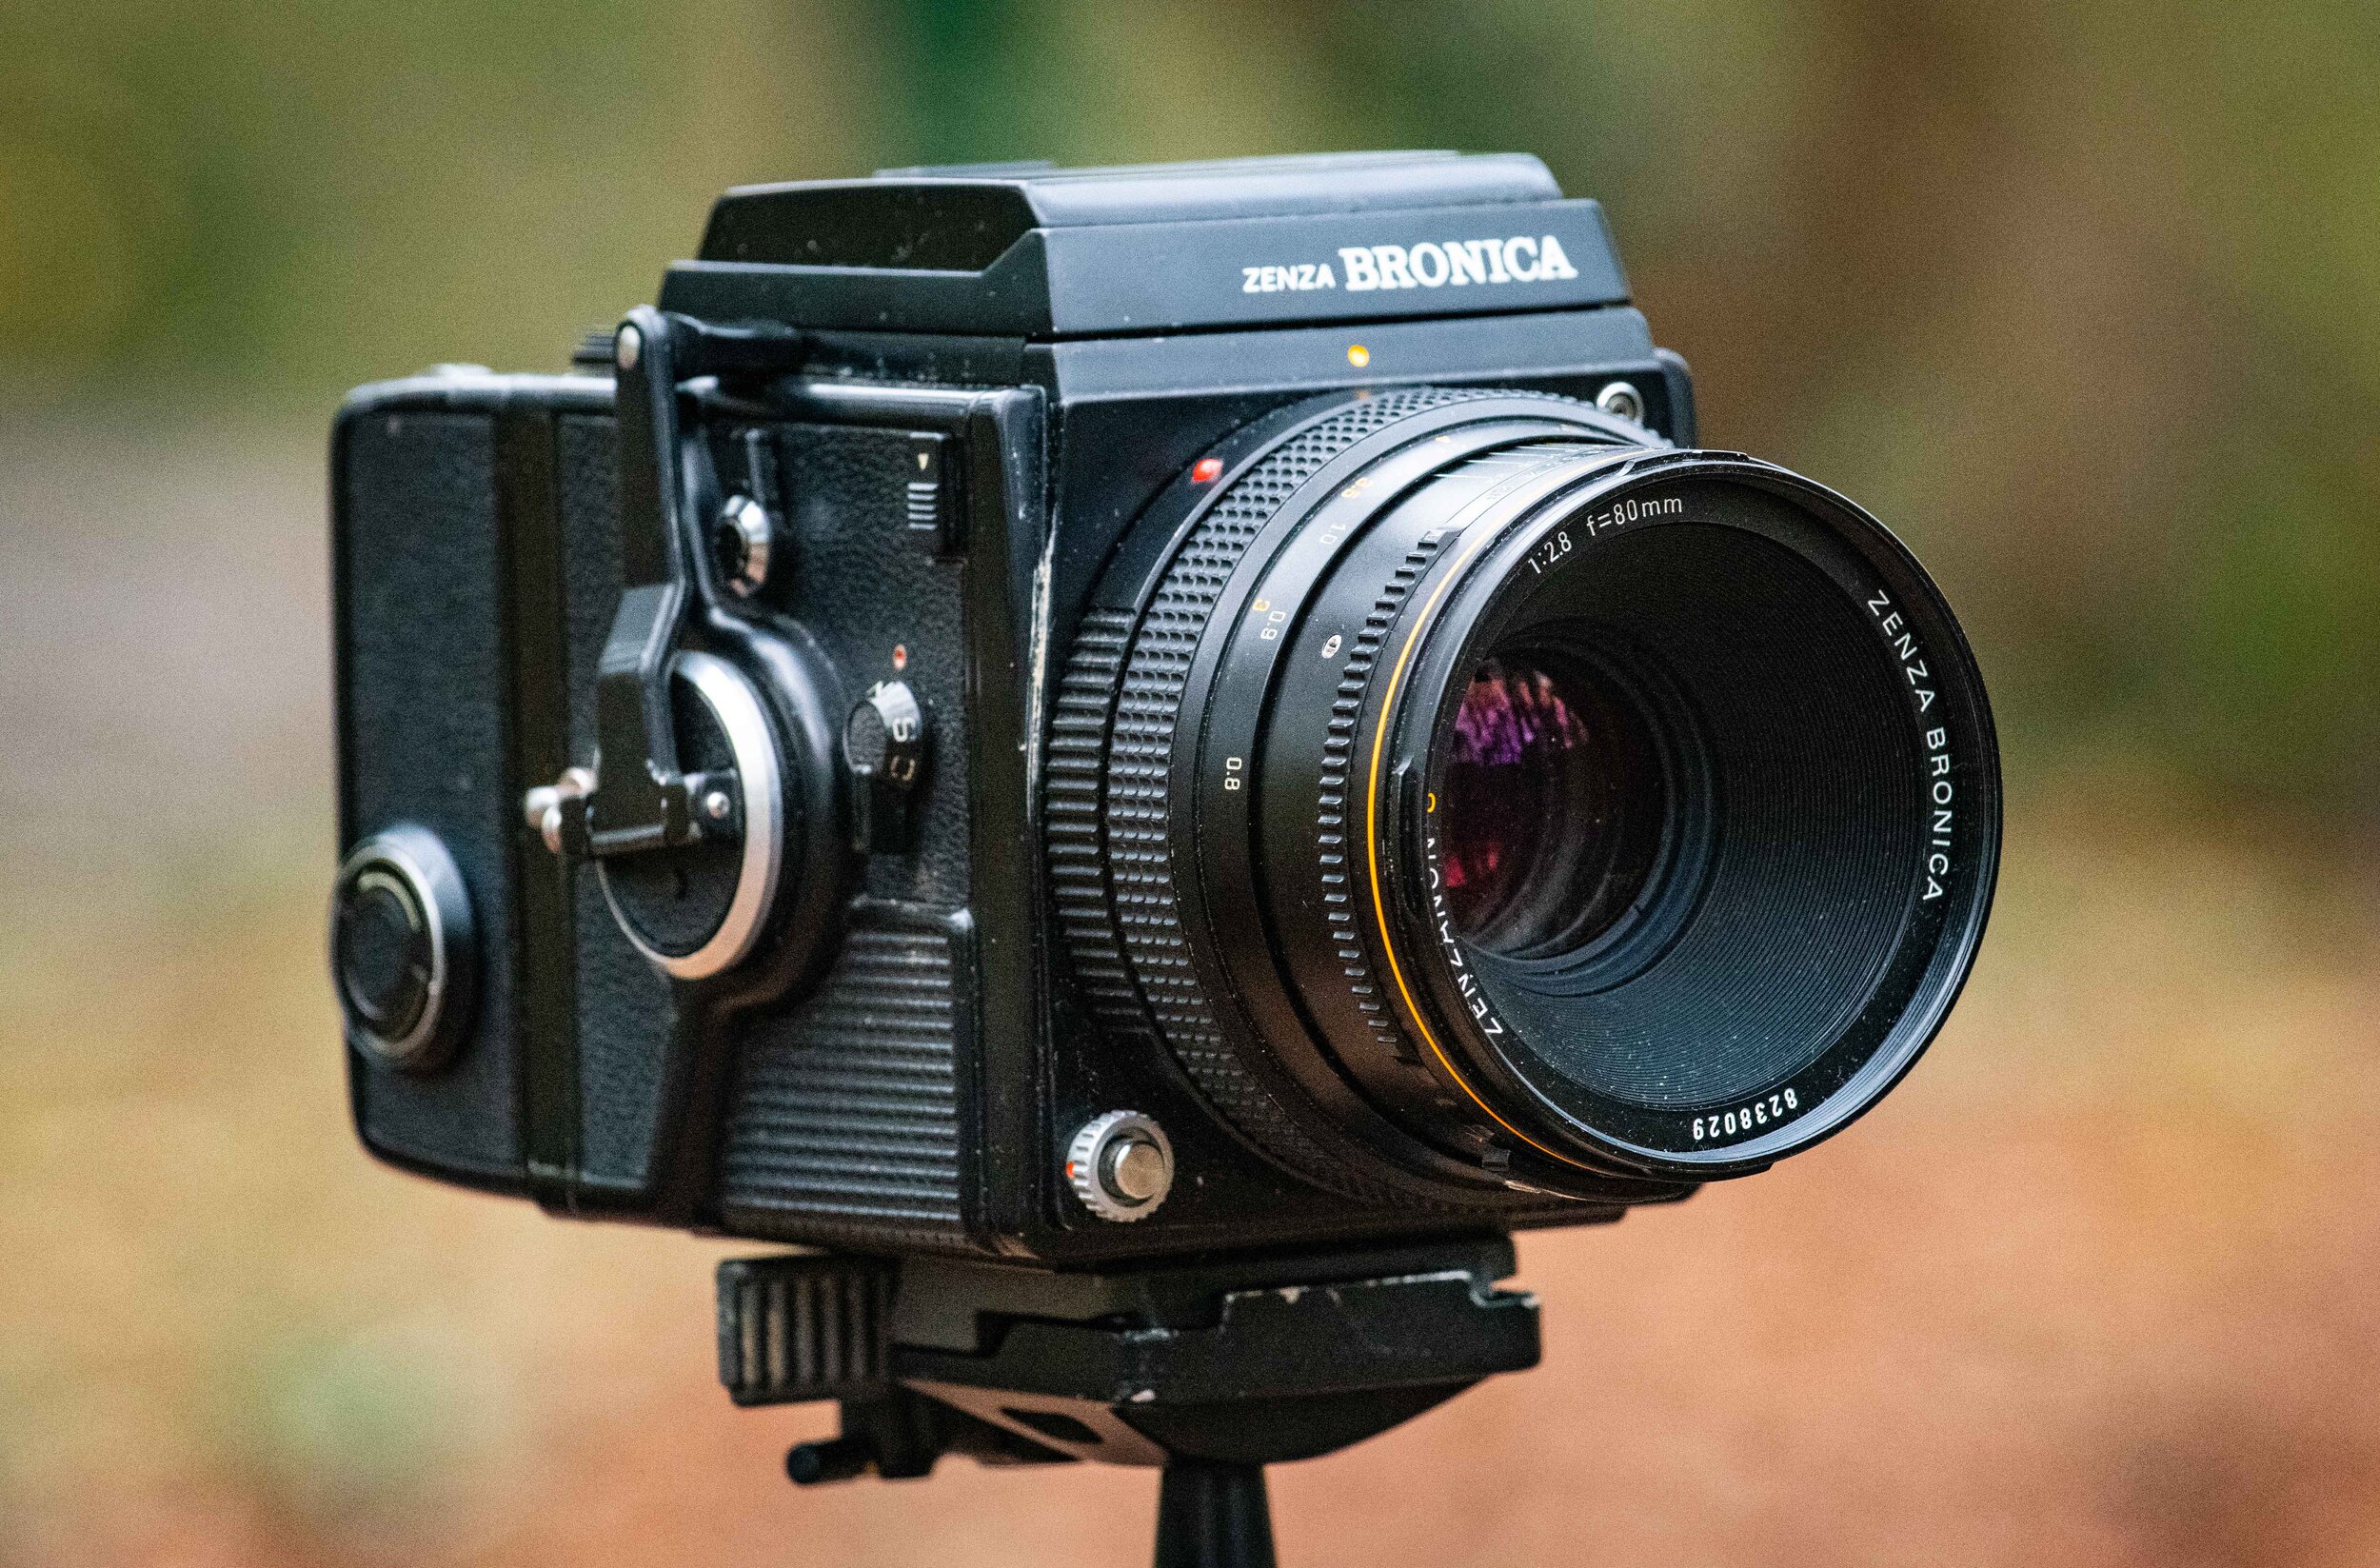
My own model is the second version - Bronica SQ-A, which most importantly added mirror lockup which if often seen as essential for landscape or still life work. I had mulled over several of the many options for a medium format camera to compliment my Nikon F100 35mm camera. However, being a more modern SLR camera and not being overly bulky or expensive the Bronica SQ line seemed to be a perfect sweet spot compared to cameras of older designs such as the Yashica TLR or much bigger and more expensive (6x7) offerings from the likes of Mamiya. Of course, owning a Hasselblad would be perfect but these rank amongst some of the most expensive, and for good reason.
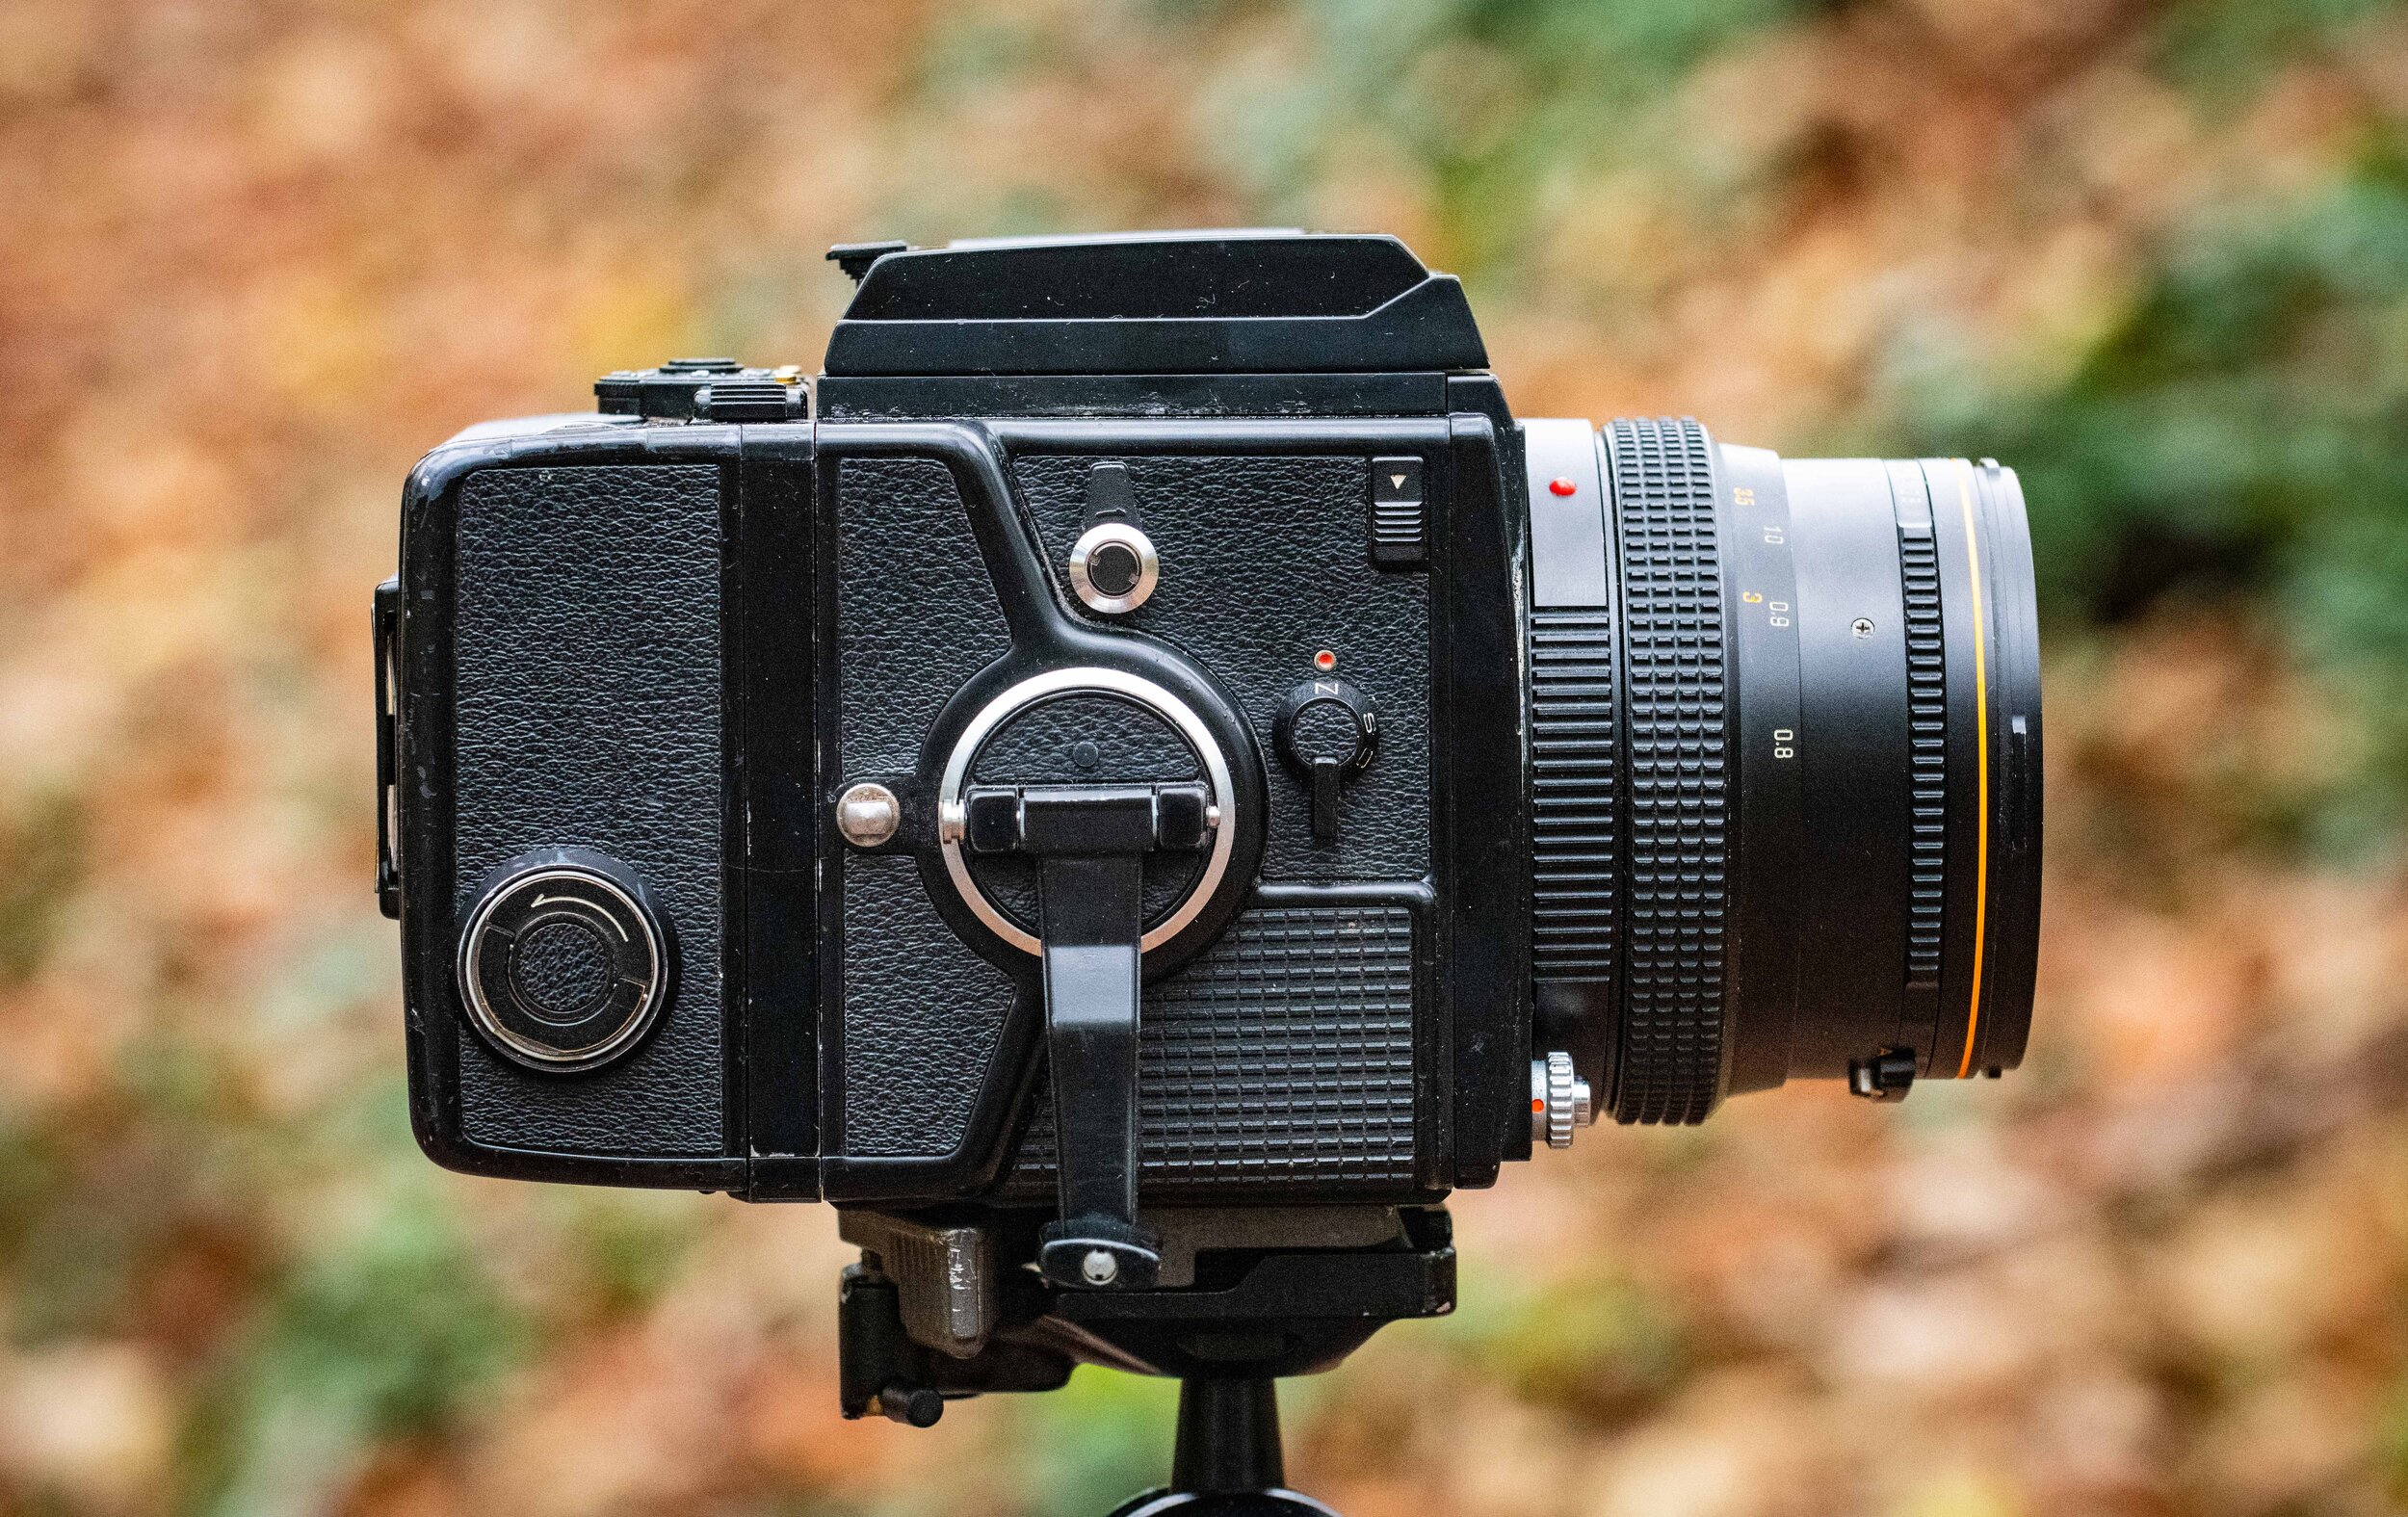
The right hand side of the camera has the wind-on crank (for both the body and the film back), as well as the multi-exposure level, the switch to flip up the mirror and the release for the viewfinder.

The left hand side of the camera has the exposure dial, lens release, back release, battery check button and the dark slide.
Initially I was unsure how I would get along with this much more retro offering. Whilst it does have an electronically controlled shutter requiring a battery, it is otherwise very mechanical and completely manual focus. However, this has quickly become my favourite camera to use. With its rugged simplicity that requires time and patience to set-up, taking photos with it is an experience in of itself.

The waist level viewfinder is made up of a large piece of ground glass that shows a mirror image of reality. The alternative prism viewfinders work in the same way as on other cameras by showing the user their view in the correct orientation.
This is the sort of camera that lives permanently on a tripod due to the considered slow paced style of photography; on arriving at location you put it up and then look through the large ground glass that makes up the waist level viewfinder (WLF) to setup your shot. This is the standard viewfinder that comes with the camera, it has no built in light meter, so this must be done separately, and to add to the confusion of a new user the image you see through it is a mirror of reality (and the final image). This takes a bit of getting used to, although it is much easier to deal with on a tripod than when handheld, moving right only to see the image moving left!

One of the many light metering apps available for your mobile phone.
Once adjusted to the subject I use a phone app to determine the correct exposure (the one I use is simply called ‘LightMeter’ on Android but the same app is called ‘myLightMeter’ on IOS) and then adjust my settings accordingly. Finally, I ensure that my focus is correct, by lining up the aids on the focus screen, helped by the handy pop-out magnifier to assist further. With everything ready I can then screw in the remote shutter cable, pull out the dark slide, switch off the shutter release and flip up the mirror before taking my shot. You then simply wind the film on with the crank to the next shot. It sounds like a lot, but it quickly becomes second nature.

The WLF has a handy pop-up magnifier to make manual focusing much easier.
What really sets shooting the Bronica SQ-A apart from 35mm cameras or even a lot of other medium format cameras is the modular design which allows you to switch-out different viewfinders, film backs and camera bodies. Interchangeable film backs allow you to switch out different types of film, without having to finish and replace them. Very handy if you only intend to shoot a few images at a time and will be encountering different conditions before a roll is finished. The dark slide prevents the unexposed film from being wasted and must be pulled out before you can take a shot (though it is possible to make the mistake of not pushing it all the way in and taking a blank shot by mistake!). Whilst I have not purchased a second film back yet, I do intend to soon.

The dark slide prevents unexposed film from being wasted when changing backs but make sure it is inserted all the way in to prevent misfires. You cannot take the film back off the camera without the dark slide inserted.
Shooting with this camera has not been entirely smooth though, and there has been a learning curve to understand its flaws and how it behaves. For example, I have had problems twice with using the remote cable release. First, I left the cable screwed in whilst moved the camera from one spot to other, overestimating the strength of the metal, the tip snapped off inside the camera. Thankfully I could remove it with a screwdriver once I got back home but it was a bit nerve wracking at the time having immediately thought I had broken/damaged something on my first time using the camera (the cable release does still work).
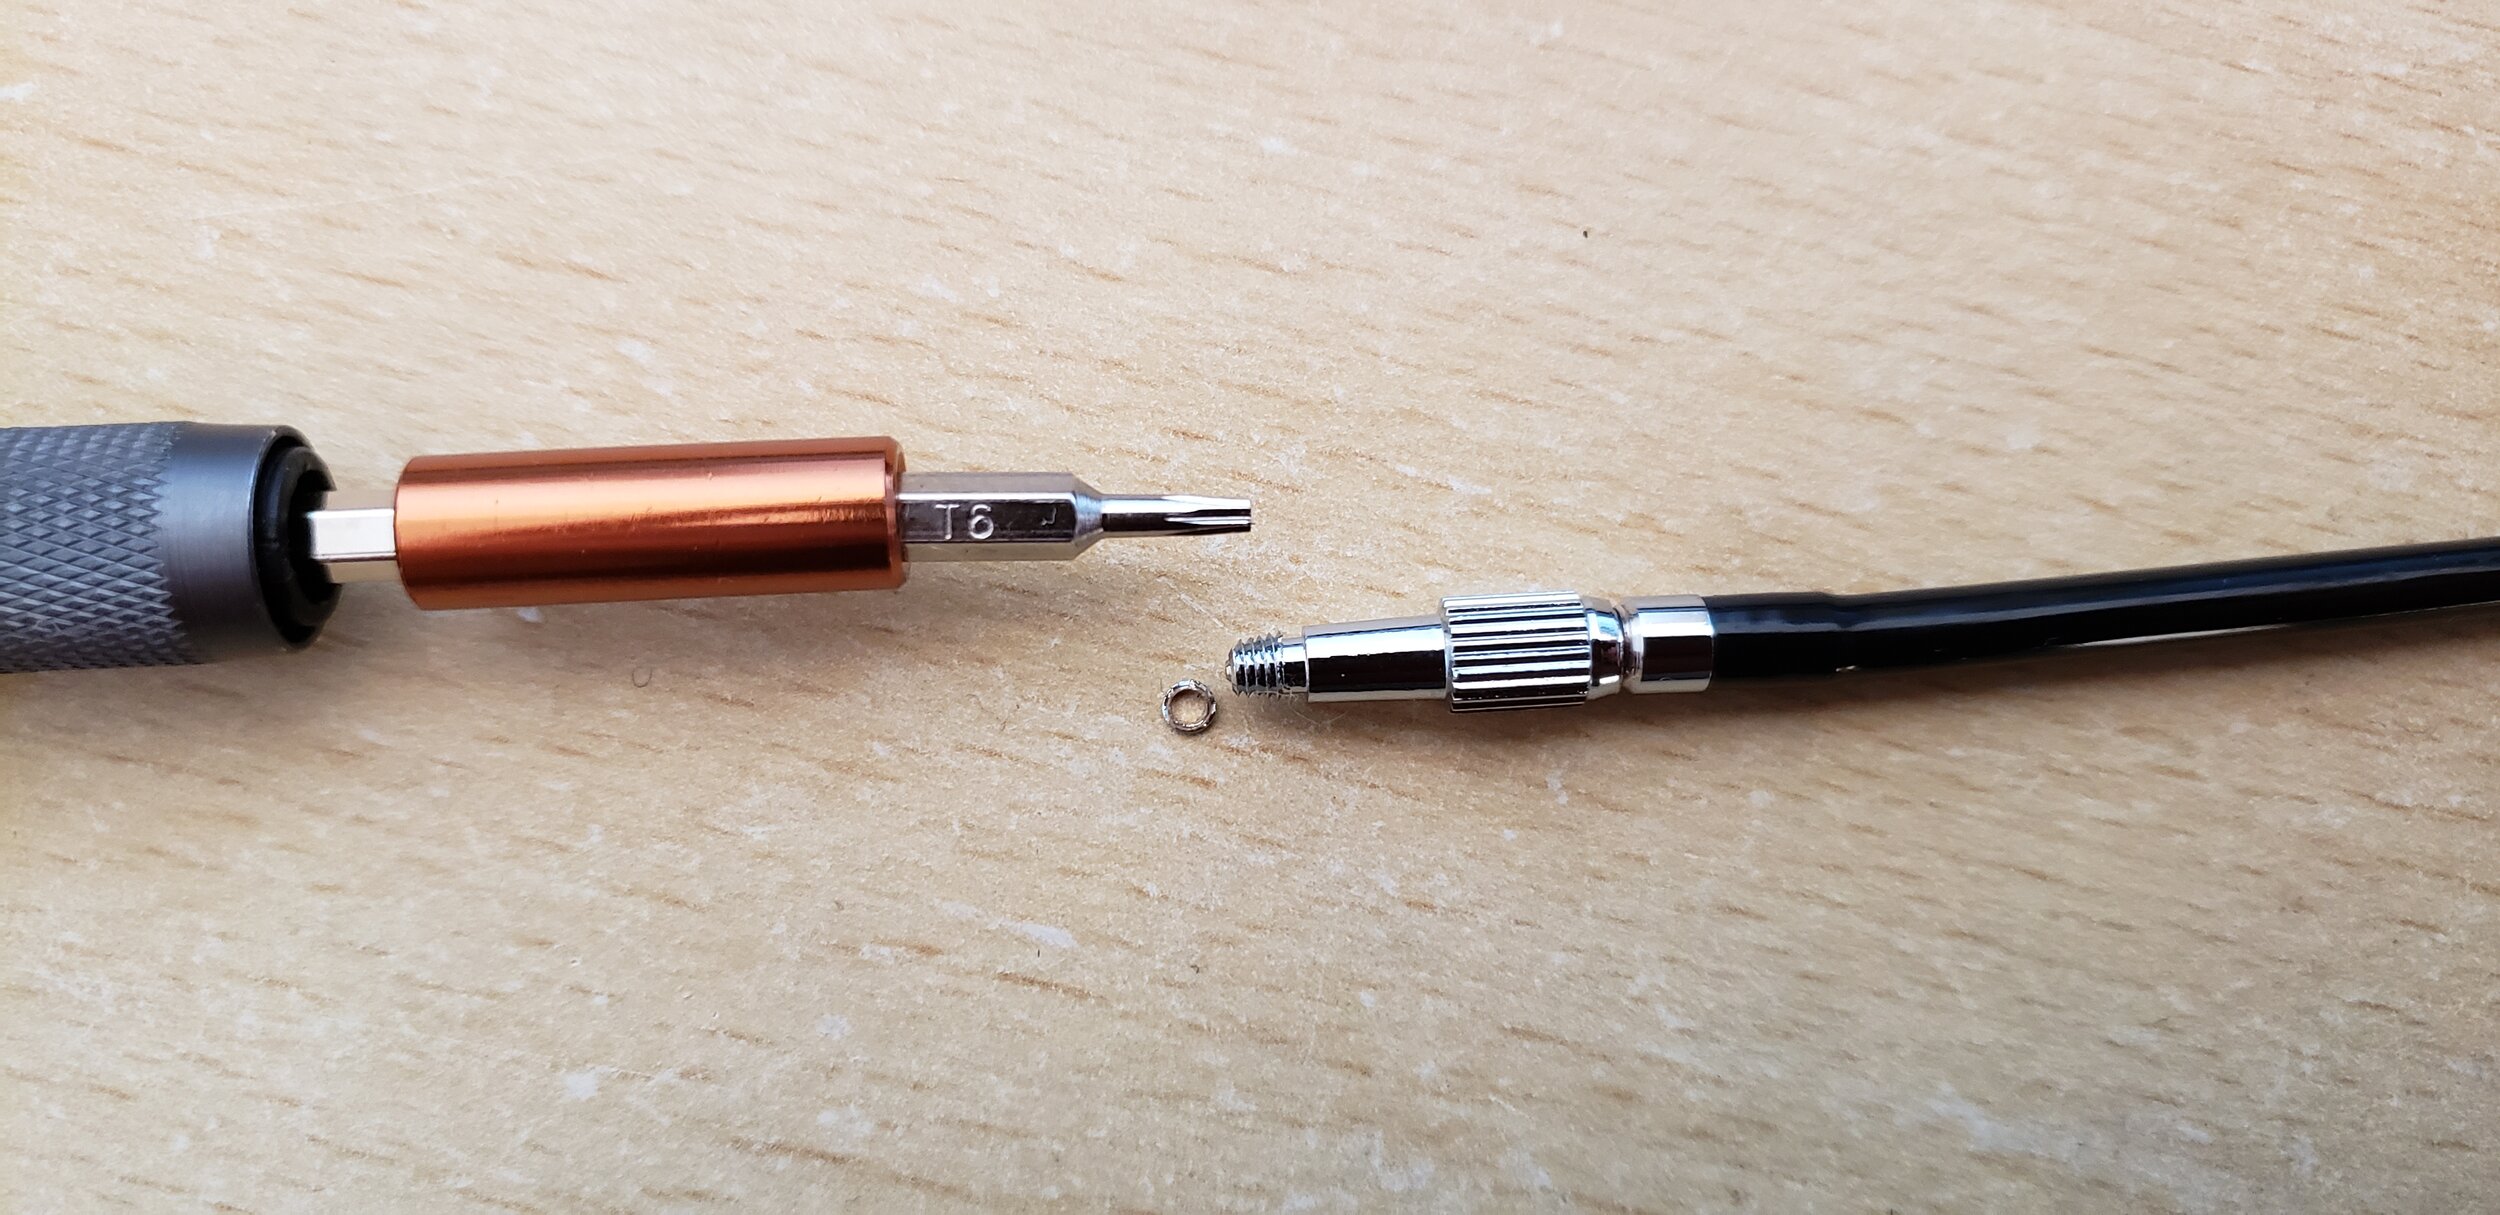
The broken end of the cable released and the screwdriver used to remove it.
The second issue I had was on a different shoot, the camera kept on firing unexpectedly when I was winding on shots. Finally, I realised that the remote cable release was not fully retracted as I was winding on causing it to fire instantaneously after a certain amount of turn. Lesson learned I now re-insert the dark slide, turn the shutter lock, and unscrew the cable before winding on to avoid this happening again. Unfortunately, in this instance it upset the spacing on the film for not just this roll but the next one resulting in overlapping and skipped images. I managed to reset this by taking the back off completely and wind the crank round a few times on the body alone.

Misfires - notice how the images overlap and lack the usual spacing between frames.
The above two were most definitely user error but the other problem I have encountered is likely due to the camera not being serviced in sometime. On occasion the shutter will not fire after using mirror lockup. What I have learned though is that by utilising multi-exposure mode I can keep going around until the shutter fires successfully without wasting any film. At the top of the WLF there is a red light that will flash when the exposure has finished so I now know to pay close attention to this to see if I am ready to wind on the film or need to have another go.

The much more useful than expected exposure indicator light is located just above the viewfinder screen.
Beyond that the only other difficulty has been scanning the negatives into positive images. With a different aspect ratio, I cannot fill the frame when scanning with my D850 which can result in funny colour casts when using the built-in inverting software (though not on B&W images). Due to this I am experimenting with software on my computer to do this instead. One of the most popular ones is a paid one called NegativeLabPro but I have been trying a free plugin for Photoshop called Grain2Pixel. I will talk about that in more detail in a future blog.
Overall, despite the cameras (and my) shortcomings it really is a joy to use. Having to really slow down even more than 35mm film and take your time to really craft and compose images is genuinely relaxing and very satisfying. When there are only twelve shots on a roll, it really focusses your mind to shoot as well as you can. It is a rather snobbish cliché to say that this is ‘real’ photography but once you shoot with a camera like this you will understand what I mean. ‘Craft’ is certainly the right word to use here.
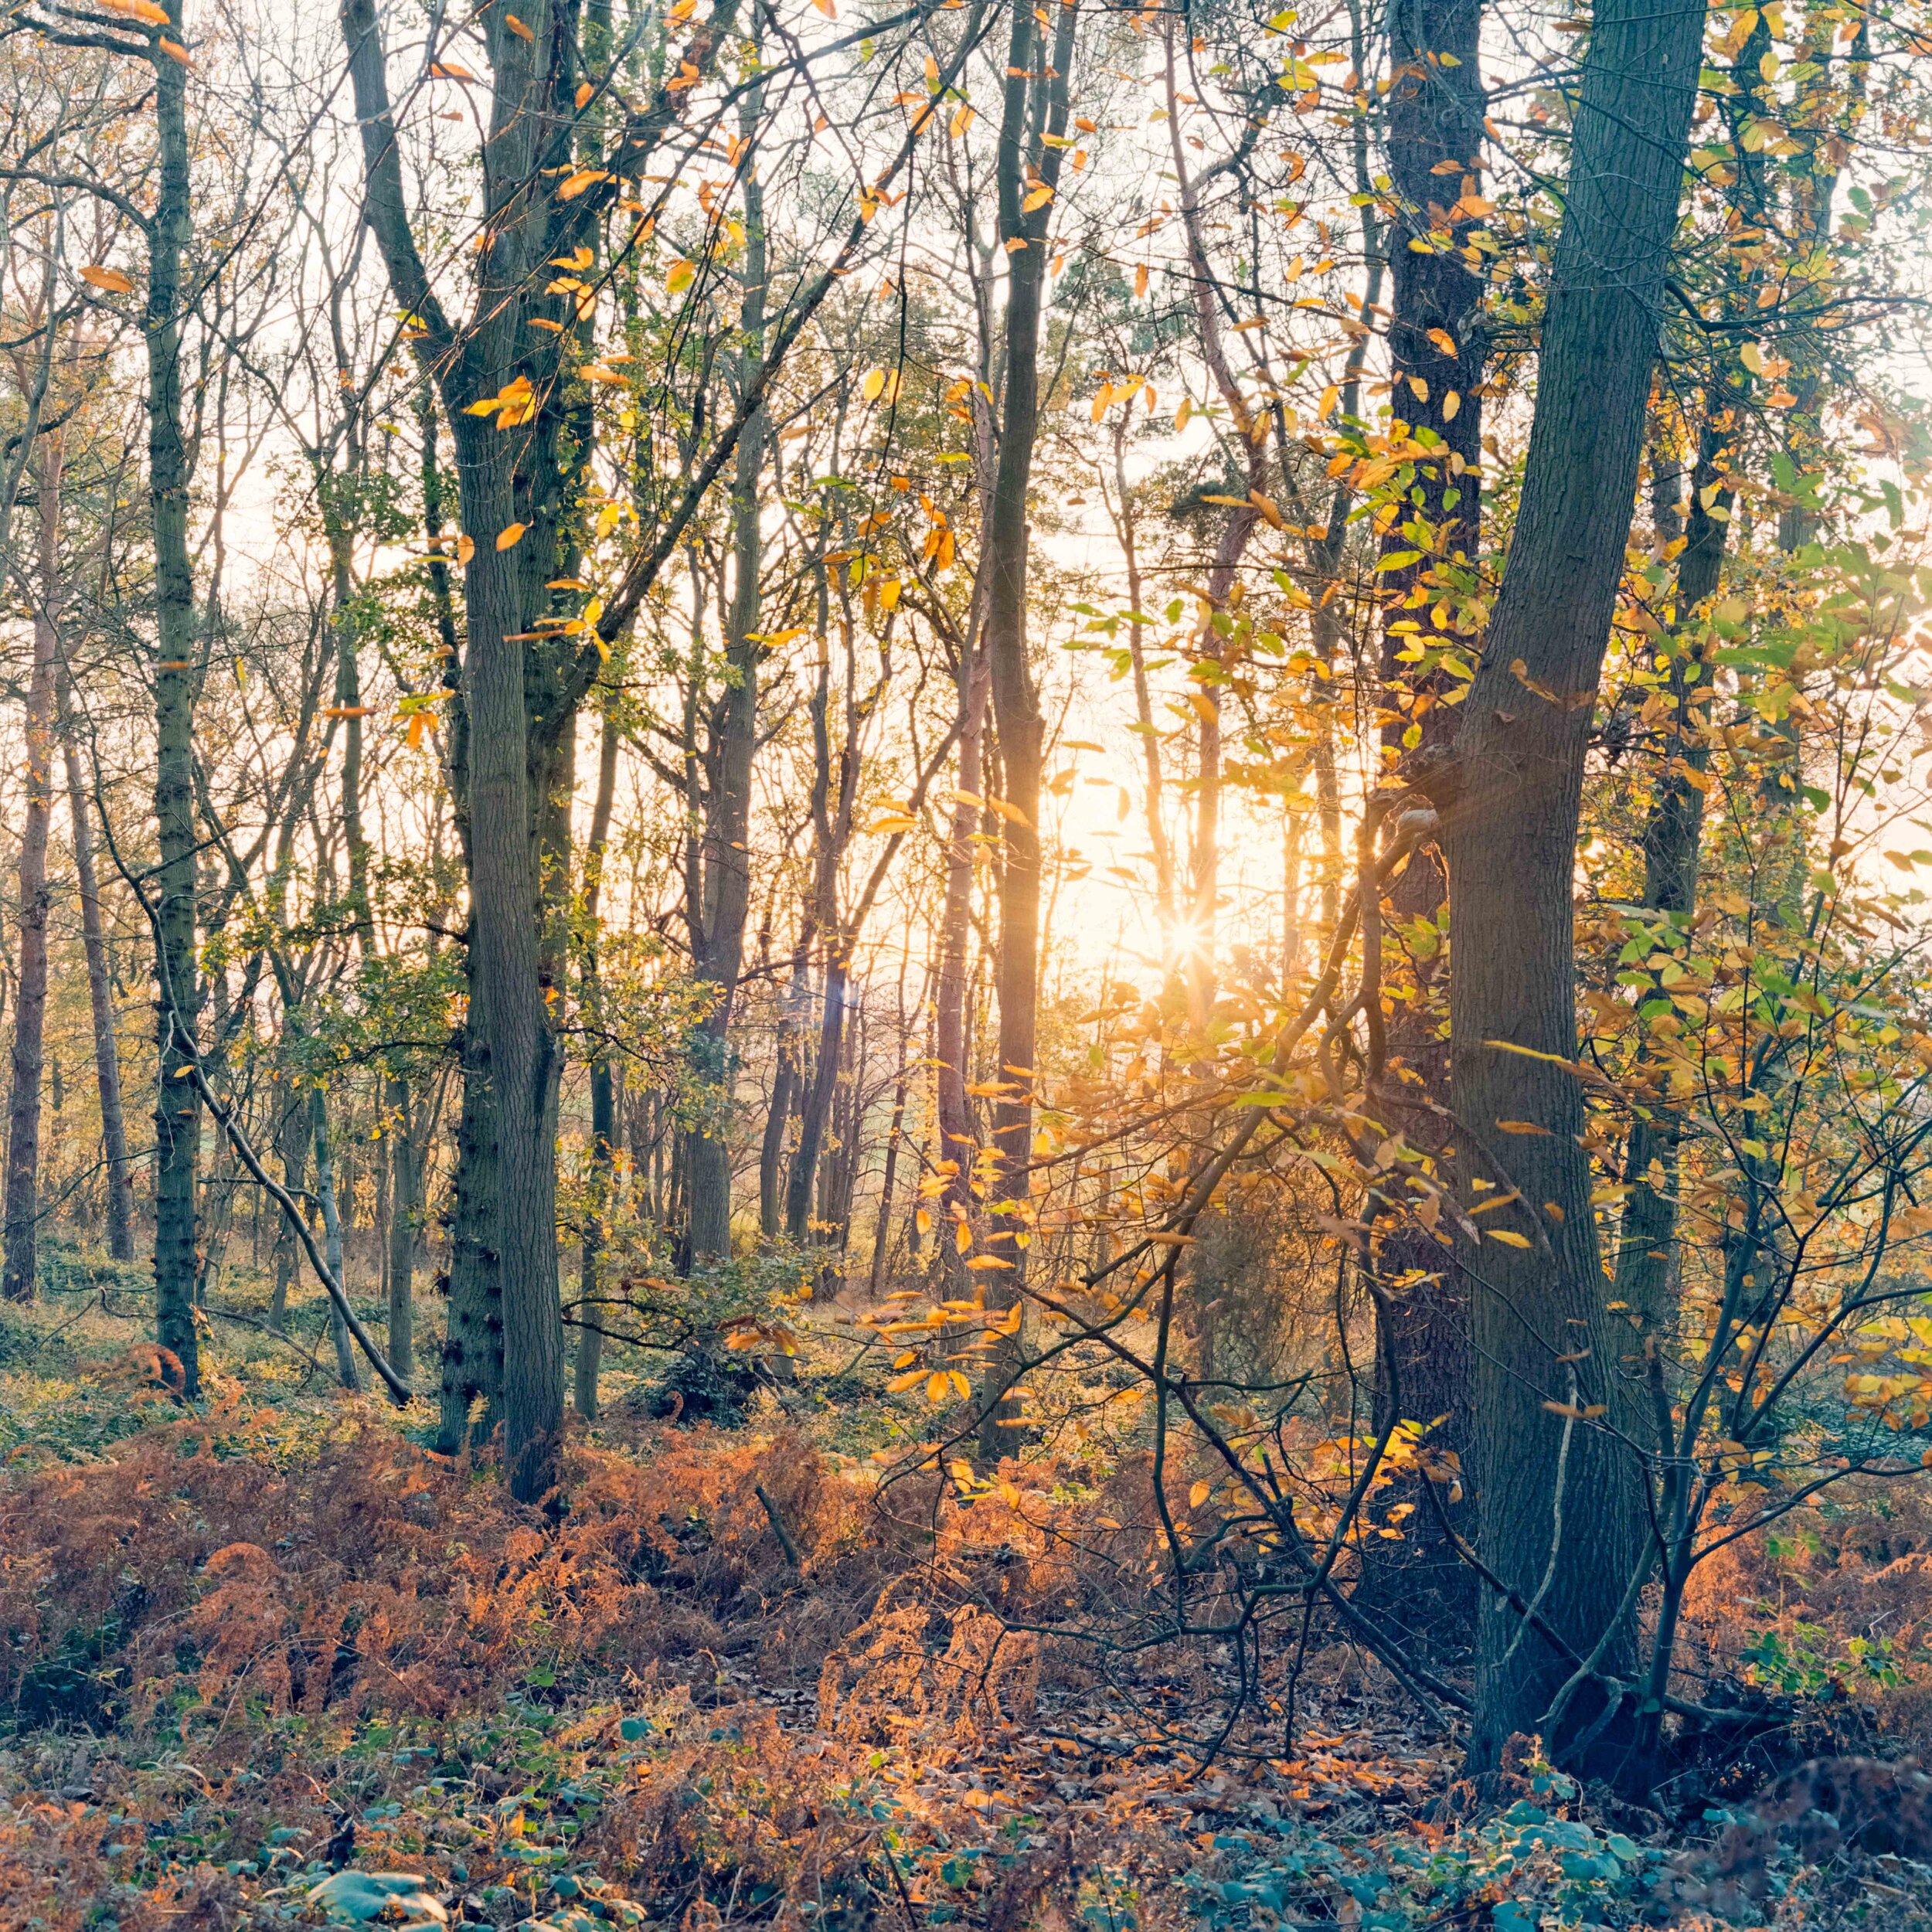
Shot at F16 1/2s 80mm on Kodak Ektar 100.

Shot at F11 1/60s 80mm on Fuji Pro400H.

Shot at F16 1/8s 80mm on Fuji Pro 400H.
If you enjoyed this blog then please consider leaving a tip below.